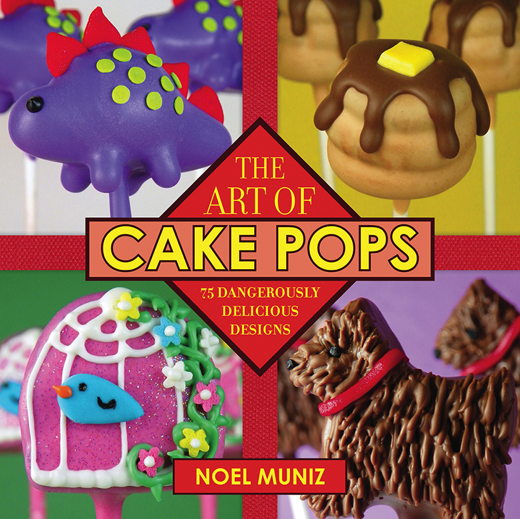


The Art of Cake Pops75 Dangerously Delicious Designs
America loves foods on sticks, and with full cake flavor and a quarter of the guilt, these cakes on a stick are no exception.
Cake pops are the hottest bestselling confections in bakeries today, but anyone can make these fun little treats at home with this essential guide. Though they may look intricate and difficult to make, with a little practice and imagination, kids and adults will be making these colorful creations in no time!
Noel Muniz shows you the basics of making these small, delectable sweets, with tips that will guide you in every step of the process. The Art of Cake Pops cover everything you need to become a cake pop pro, including the different types of chocolates to use, how to use cookie cutters as molds, coloring chocolate, and when it’s best to use homemade or boxed cake. There are also sections about preventing or fixing common baking problems and mistakes like cake pops that crack, leaking oil, or streaking, with detailed photos to help you along the way. Filled with delicious recipes for cake flavors such as chocolate, banana, strawberry, and lemon, and seventy-five colorful and creative designs for silly frogs, cute babies, and vibrant butterflies—along with twenty-five party theme ideas—you’ll make a splash at any gathering, and your cake pops will be the talk of the event.
Noel Muniz was born and raised in Chicago, Illinois and has been cooking and baking ever since he got his first Easy Bake Oven at age nine. He studied culinary arts at Kendal College for nine months before starting his own baking business, The Cake Poppery, in 2009. After teaching himself many techniques over the years, he has perfected the art of making cake pops. He lives in Chicago, Il.
www.thecakepoppery.com
Nail Polish Cake Pops
Supplies:
Cake filling of your choice
Red candy melts
Black candy melts
Tootsie Rolls
Disco dust
Tools:
Digital scale
Sheet pans
Microwave-safe bowls
Lollipop sticks
Stiff-bristle paintbrush
1. Begin by hand weighing the cake into one ounce portions. Roll them into balls and set aside on a sheet pan. Place in the fridge while you prepare the candy melts.
2. Melt the red candy melts according to the directions indicated on the package.
3. Remove the cake from the fridge. Dip the sticks into the candy melts and insert them halfway into the cake. Attach a Tootsie Roll to the top of the pop with candy melts.
4. Once the candy melts have fully set and the cake is back at room temperature, the pops are ready to be dipped. Fully submerge the pops into the red candy melts and tap off any excess.
5. While the pops are still wet, dip a stiff-bristle paintbrush into the disco dust and tap it over the wet candy melts. Focus mainly around the cake portion, as the Tootsie Roll portion will be covered up. Set aside and allow to set.
6. While the candy melts are drying, prepare the black candy melts. Once the pops have dried, dip the Tootsie Roll portion of the pops into the black melts and tap off the excess. Allow to fully set.
~ Related Books ~


Leave a Reply